Thursday, December 9, 2010

How to Make Waldorf Doll Dresses


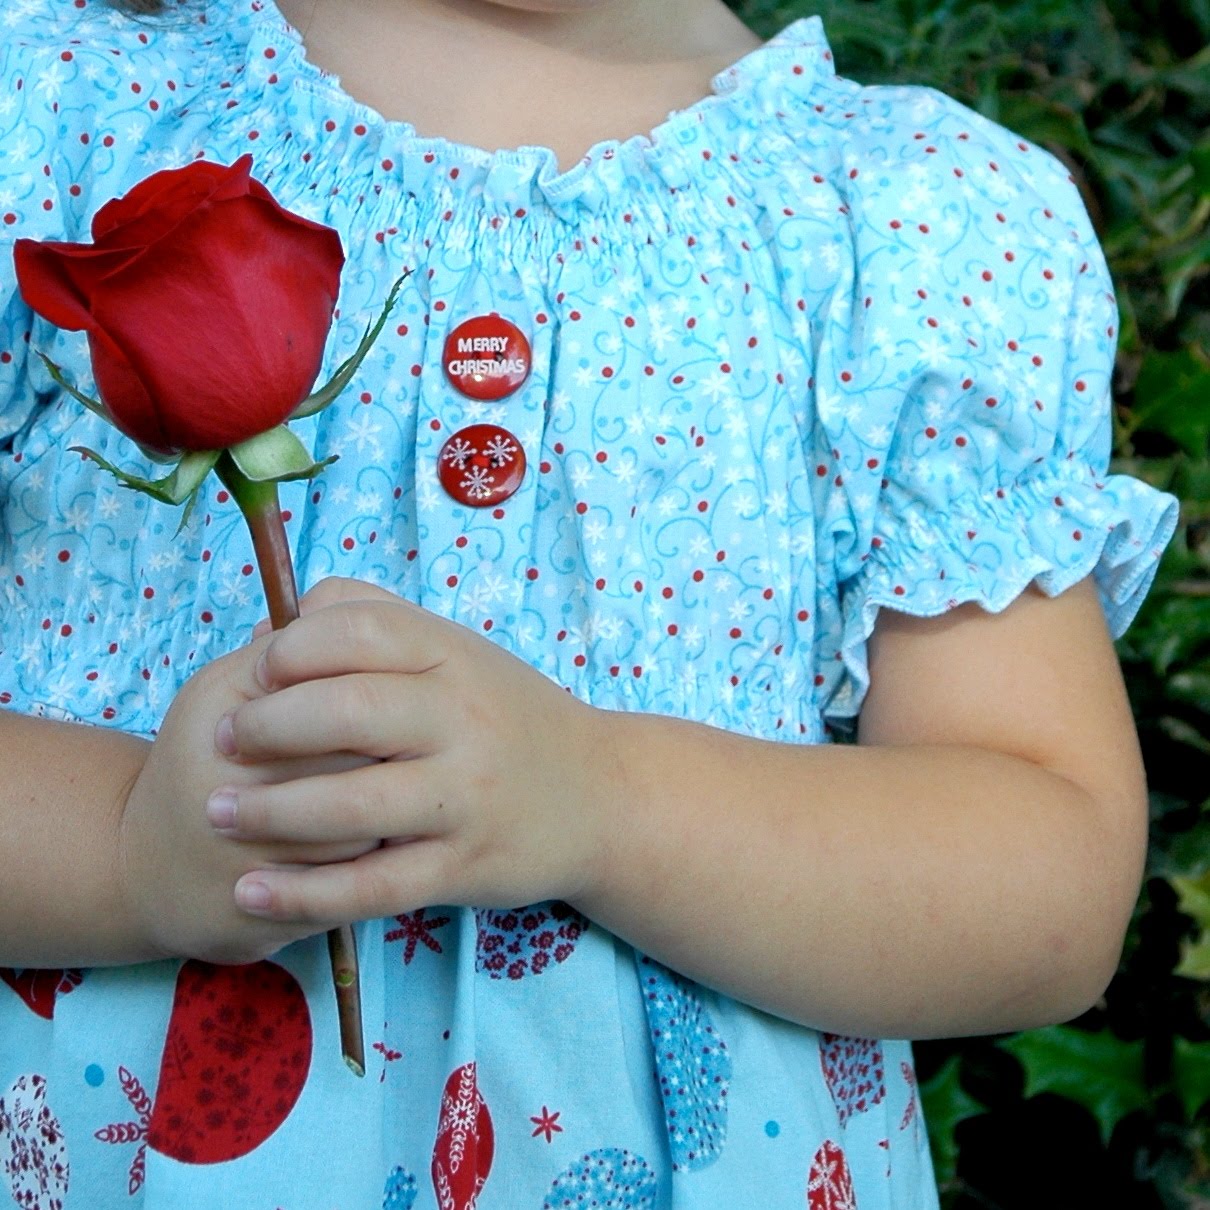
Looking for an easy and inexpensive way to clothe your Waldorf doll? I dug through a sack of old baby clothes and found some dresses with cute hemlines that I upcycled into doll dresses. Very simple, cheap, and took very minimal time since the bottom edges were already finished.


I used this tutorial from Inditutes to give me an idea of pattern shape. The sizing was a bit tricky however. The first dress was a bit tight on the doll, so I increased the pattern size by about a 1/2 inch all the way around and the second dress was much better fitting and easier to get on the doll.

Materials: old children's clothes or light-weight fabric, 1/4" elastic

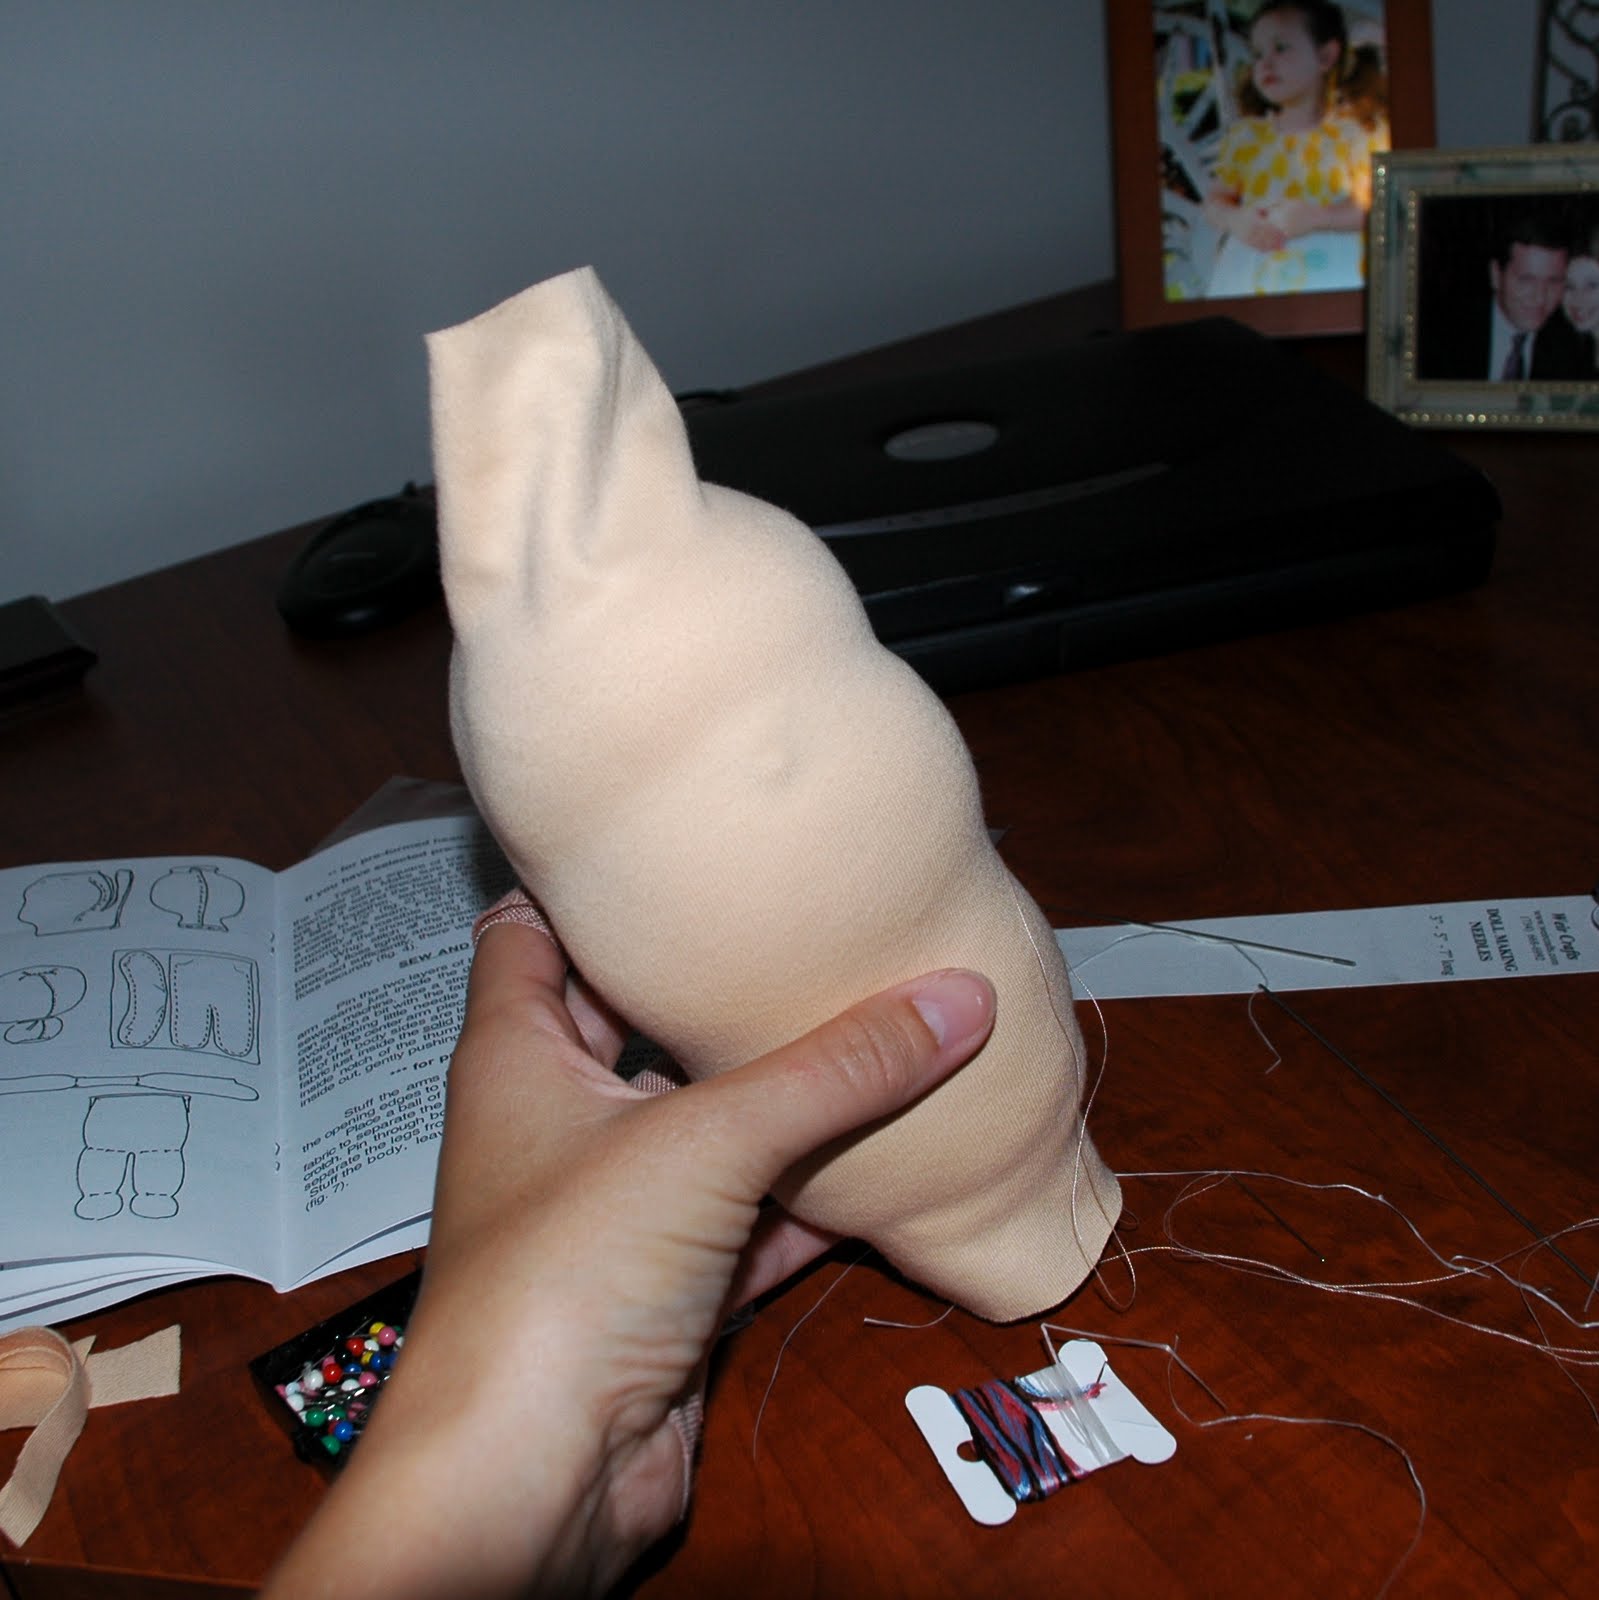
Measure your doll, and using the tutorial, create a simple block shape pattern. Be sure that your arm and neck holes will be sufficient to allow the doll to be easily clothed by a child.

Position your fabric or old clothes so that the hemline will be utilized (and you won't have to add a hem on either the sleeves or the dress) by placing the bottom edge of both pattern pieces along the hemline.

Following the tutorial, stitch it all together using 1/4" seams, make the neckline casing for the elastic, and voila! A quick and easy dolly dress.


I made some little matching panties using a simple rectangle of matching fabric. If you have anymore hemline available, cut the rectangle along the hemline so you'll only have to finish one edge. Fold the rectangle in half and stitch. Add an elastic casing at the top for 1/4" elastic. In the center of the rectangle, tack the bottom to create 2 leg openings. They are more of a boxer-short shape than panties, but are very simple and quick.


Monday, December 6, 2010

Waldorf Doll Making Part 4


Ta da! Here is the final doll (minus clothing... that is yet to be assembled).

Waldorf Doll Making Part 3

Time for the last leg of my Waldorf Doll adventure (finally!!) - looks like Julia will have her Christmas dolly after all! (See Part 1 and Part 2)

I finished closing all the seams around the neck and arms. Next was to shape the leg seams - thighs and ankles.

I chose a lavender blue embroidery floss for the eyes. It took me a bit to get them right - I started with them smaller, then went back and made them larger. This photo is a bit creepy I think with the pins marking the mouth!


Ah, much better. A few passes with the embroidery thread for the mouth, and now it really looks like a doll!

A bit of pink for the cheeks.


This is the first layer of yarn for the hair - I can't wait to get it all on - 2 more layers and then I'll be ready to make her some dresses.


Sunday, September 26, 2010

Waldorf Doll Making Part 2

Once I finished the head and shoulders, I couldn't wait to keep going! (see Part 1) For the body, I was very happy to use the sewing machine. The kit came with super soft cotton knit screen printed with the pattern for the arms and body/legs. How easy to just stitch it right up along the lines, then cut it all out afterward! I used a triple stitch for stretch, and a ball point needle. For the first time in my sewing life, I had no hang-ups, no fabric got sucked into the machine, and I didn't break a needle or the thread. The sewing gods were smiling down upon me!!

Here is a photo breakdown of my progress:


Finished sewing, cut out the pieces

Turned, ready to be stuffed with wool

All stuffed, pinned at the joints, and sewing the arms to the shoulders

Dolly head and arms connected

Almost fully connected, about to stitch up the arm holes and neck

She is surprisingly heavy from the weight of the wool - not like a doll stuffed with synthetic fibers. I love that she is all cotton and wool - she feels awesome!

Friday, September 24, 2010

Waldorf Doll Making Part 1

While perusing Etsy one day, I came across some fantastic Waldorf-inspired dolls that my little princess fell in love with, and prompted, "Mommy! I want one!"

I thought, Maybe I can make one myself!

I found a relatively inexpensive kit online at Weir Dolls and Crafts and it has sat, patiently waiting, in my office closet until today.

Now I find I would happily work all night on it without stop until it is complete, but family calls...

Here is a photo process of my Waldorf Doll journey, which so far consists of a blank dolly head... but think of the possibilities!

Prep the cotton tubing

Stuff it

Tie it off

Section off the head


I wanted it to have a nose, even though the kit didn't give directions, I found some easy directions online.

Wrap it tight


Whip stitch it up

Sunday, September 12, 2010

Blue Christmas - Dress by Chew Chew's Closet


Another gorgeous creation by the talented Darcy at Chew Chew's Closet. I love the play of fabrics in the tiers, and each is so tactilely soft that my daughter just wants to wear it all day. The sweet little Christmas buttons give it a touch of whimsy at the bodice, while the eyelet trim around the hem adds precious innocence to the dress. Simple, lovely, perfect for the holidays without being kitschy. Love it!

Tuesday, August 31, 2010

Mariposa at Rest - Monarch Butterfly Wool Felt Pin


Mariposa - the inspiration for this mini felt sculpture, is butterfly in Spanish. It is also the home in which I grew up, in the rolling foothills approaching Yosemite Valley. Sadly, you don't see as many majestic Monarchs there as in the past, but it is still one of the most beautiful places I know come Spring and the blush of wildflowers.

Mariposa is made-to-order, and hand-crafted using 100% wool felt. Each piece will be hand-cut and stitched, making this butterfly as unique and without duplicate as it's fluttering inspiration. (Photo is an example only, your butterfly wing pattern will be similar, but unique to your pin).

Wing details are carefully stitched to the front and back of the wings, and the wings gracefully arch in a resting position. Below the body in the center is a 1 inch bar pin, securely stitched to a base layer of felt. Nearly life-sized, Mariposa is 3 inches across, and about 1.5 inches tall.

Monday, August 30, 2010

Snow Much Fun Collection


Darcy at
Chew Chews Closet has really outdone herself for the upcoming 2010 holiday season! Her new line of tops, blouses, and skirts feature fun, bright, colorful fabrics, and adorable cuts and designs.


I love the way the snowman pleated blouse has sweet pleated details at the neckline and elastic arms and neck for easy fit and comfort. Layer it with a long sleeve T underneath, or for warmer climates, wear it alone with jeans or leggings.

I dare you to find a cuter holiday outfit than the Snow Much Fun twirl skirt and penguin or snow girl appliqued T ensemble! The skirt features three fun layers, and fantastic colorful fabric. Between the top and bottom fabric layers (made even cuter with the rik rak trim!) is a layer of fluffy green tulle -giving the skirt a tutu like feel. Happy twirling for the holidays!


Peace Baby Tunic


Fantastic detailing and fun fabric make this lovely tunic from
Chew Chews Closet a must-have for fashion-forward chicas. My daughter loves how it fits and feels, and we all know that is the most important! It doesn't matter how cute something is, if it doesn't feel great on, my daughter will not wear it for more than a couple minutes.

Adorable over leggings or jeans, layer it with a fun long-sleeve T-shirt, definitely adorable any way you go!

Monday, August 9, 2010

Apple Corduroy Dress by ChewChewsCloset


This dress is fantastic! The baby wale corduroy is velvety soft, and I love the colorful array of apples. The details in this dress make it quite possibly one of the sweetest little back-to-school dresses I've ever seen. Cinching the back is an attached belt with a natural wooden button closure. Elastic looped natural buttons secure the back of the dress to the neck and open wide enough for easy on and off by a toddler with clumsy fingers.


Superbly made, the stitching is impeccable and reinforced to last for generations of use. I can't wait for the cooler weather so Julia can show it off! Thank you, Darcy, for another amazing creation.